Laying
Use cementitious adhesives for low-porosity surfaces such as MAPEI S2FLEX / H40 KERAKOLL. After the grouting phase, excess product must be removed as quickly as possible, and the affected surface must be repeatedly washed with a sponge and water. It is the installer’s responsibility to keep the surface of the LayerStone panel clean by covering it with suitable protective materials (e.g., chipboard, cardboard sheets, etc.). For creating internal cuts and “L” shapes, it is recommended to round the sharp corners using bits with a diameter of at least 5 mm to reduce the risk of breakage or cracks in the already laid material. It is advisable to lay LayerStone panels using mechanical levellers. However, it should be noted that some models available on the market, due to their operational methods, may not be suitable for laying LayerStone panels. If necessary, please contact the LayerStone technical office before installation. For further instructions on laying LayerStone panels, consult the LayerStone technical manual.
Substrate
Floor: Compact Cementitious Screed
Wall: Compact Cementitious Plaster
Joint Dimensions
The joint size should be about 2 mm. The width of the mortar joints must be established by the installation manager, unless regulated by national laying standards. Plan in the flooring for appropriate perimeter joints in contact with vertical structural elements (walls, columns, stairs…) and appropriate expansion joints.
Mortar Color
It is advisable to use mortar colored to match the LayerStone panel color. Before using fine-grain boiacca mortar, always perform a test as the colored pigment can stain the surface of the GammaStone panel and can be very difficult to remove.
Guide to Installing LayerStone Panels
Phase 1:
The first phase of installing LayerStone panels begins with surface preparation. Ensure the surface is clean, dry, and level by removing any dust, grease, or residue.
Next, use a level and a pencil to draw guidelines that will help maintain proper alignment during installation. Select an adhesive suitable for the surface type. Apply the adhesive evenly on both the back of the panel and on the ground using a notched trowel, ensuring a consistent coverage that will facilitate the panel’s adhesion.

Phase 2:
To begin, position the first panel according to the guidelines drawn earlier. Ensure it is aligned properly and press it firmly against the surface to secure full adhesion. Following this, proceed with the installation of subsequent panels.
Continuously check that each panel is well-aligned and firmly adhered before moving on to the next one. This methodical approach ensures a seamless and professional finish. The illustration should depict the initial placement of the first panel and the ongoing installation of additional panels.

Phase 3:
After positioning the initial panel, the next step is to place spacers for grout lines. These spacers ensure uniform gaps between each panel, which will later be filled with grout. Begin by placing spacers at the edges of the first panel before installing the subsequent panels.
As you continue, make sure to place spacers consistently between each panel to maintain even grout lines throughout the entire installation.

Phase 4:
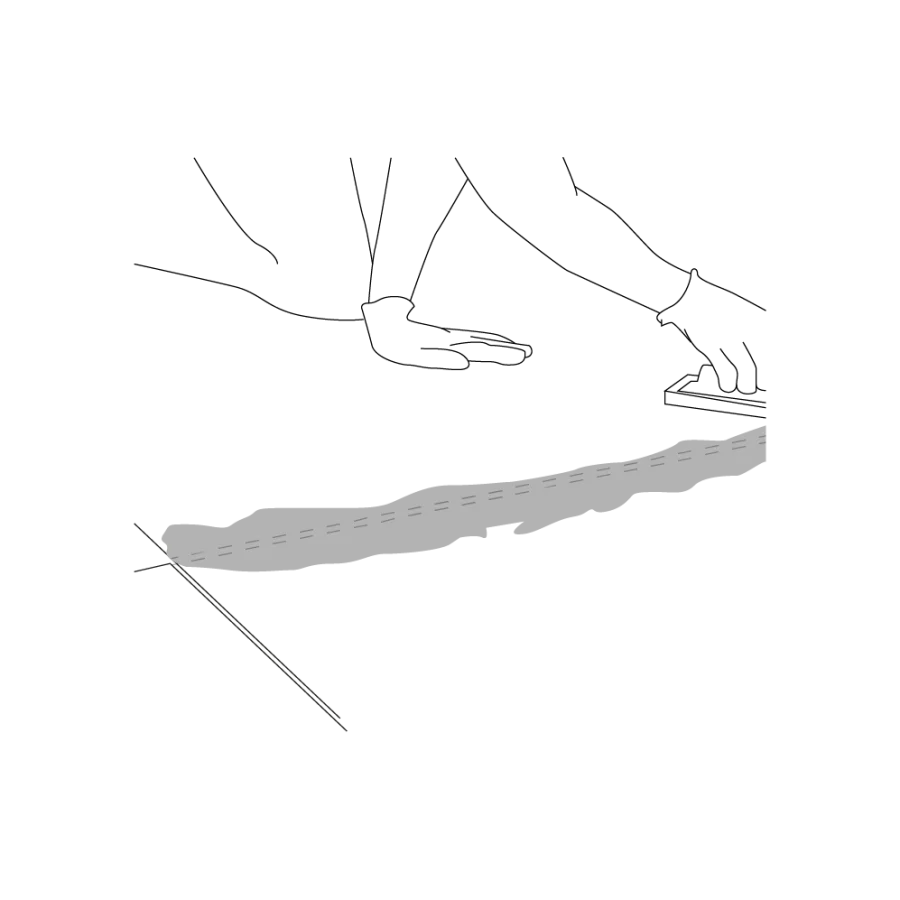
Once all panels are installed, apply grout to fill the gaps between them, enhancing the overall aesthetic appearance. If necessary, LayerStone panels can be cut to fit corners, edges, and other specific needs such as electrical outlets.
After grouting, perform a final cleaning to remove any adhesive or dust residues from the panels, ensuring a clean and professional finish.

Processing of LayerStone Panels
The processing of LayerStone panels is incredibly versatile and user-friendly. Unlike traditional natural stone, these panels can be easily cut using common site tools, such as diamond blades, both wet and dry. The material’s resistance prevents cracking, chipping, or breaking, ensuring a perfect finish in every situation. Whether it involves precise cuts along the sides, drilling, or engraving for decorative details, LayerStone allows for flexible processing, adding value in terms of customization and adaptability to any design or architectural requirement.


